Toyota Yaris: Fuel Pump / Inspection
INSPECTION
PROCEDURE
1. INSPECT FUEL PUMP
| (a) Measure the resistance according to the value(s) in the table below. Standard Resistance:
If the result is not as specified, replace the fuel pump. |
|
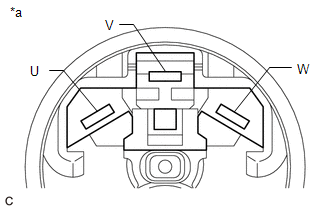
 Disassembly
DISASSEMBLY CAUTION / NOTICE / HINT NOTICE: Do not disconnect the tube shown in the illustration when disassembling the fuel suction tube with pump and gauge assembly...
 Reassembly
REASSEMBLY PROCEDURE 1. INSTALL FUEL PUMP HINT: Perform "Inspection After Repair" after replacing the fuel pump. Click here
(a) Install the fuel pump to the No...
Other information:
Toyota Yaris XP210 (2020-2026) Reapir and Service Manual: AWD Warning Light does not Come ON
DESCRIPTION Refer to "AWD Warning Light Remains ON". Click here WIRING DIAGRAM Refer to "AWD Warning Light Remains ON". Click here CAUTION / NOTICE / HINT Refer to "AWD Warning Light Remains ON". Click here PROCEDURE 1. CHECK HARNESS AND CONNECTOR (a) Check that there is no looseness at the locking and connecting parts of the AWD ECU assembly connector...
Toyota Yaris XP210 (2020-2026) Reapir and Service Manual: Turbocharger / Supercharger Bypass Valve "A" Control Circuit Short to Ground or Open (P003314)
DESCRIPTION Refer to DTC P003312. Click here DTC No. Detection Item DTC Detection Condition Trouble Area MIL Note P003314 Turbocharger / Supercharger Bypass Valve "A" Control Circuit Short to Ground or Open Open or short in air by-pass valve assembly circuit (1 trip detection logic)...
Categories
- Manuals Home
- Toyota Yaris Owners Manual
- Toyota Yaris Service Manual
- Adjustment
- Battery Monitor Module General Electrical Failure (P058A01)
- Removal
- New on site
- Most important about car
Refueling
Before refueling, close all the doors, windows, and the liftgate/trunk lid, and switch the ignition OFF.
To open the fuel-filler lid, pull the remote fuel-filler lid release.

Copyright © 2026 www.toyaris4.com